Skip to product information
1 of 20

3-4 Week Lead time (Made in MN)

**FREE SHIPPING ON CONTIGUOUS USA ORDERS**

DIY Hexagon Climbing Wall Panel

DIY Hexagon Climbing Wall Panel

Regular price $99.95
Regular price Sale price $99.95
Sold out

  • Finished Panels Ready for Install (Natural Wood Grain)
  • Full, or Half Panel Options Available
  • Available in Multiple Different Colors
  • Small Size 32.313" (edge to edge)
  • Large Size 41.319 (edge to edge)
  • Lead time on colored DIY panels. 3-4 weeks

In stock colors:

Style
Installation Spacers
Color
View full details

If you are looking to do a larger wall build you can find our custom wall building options HERE

Installation & User Guide

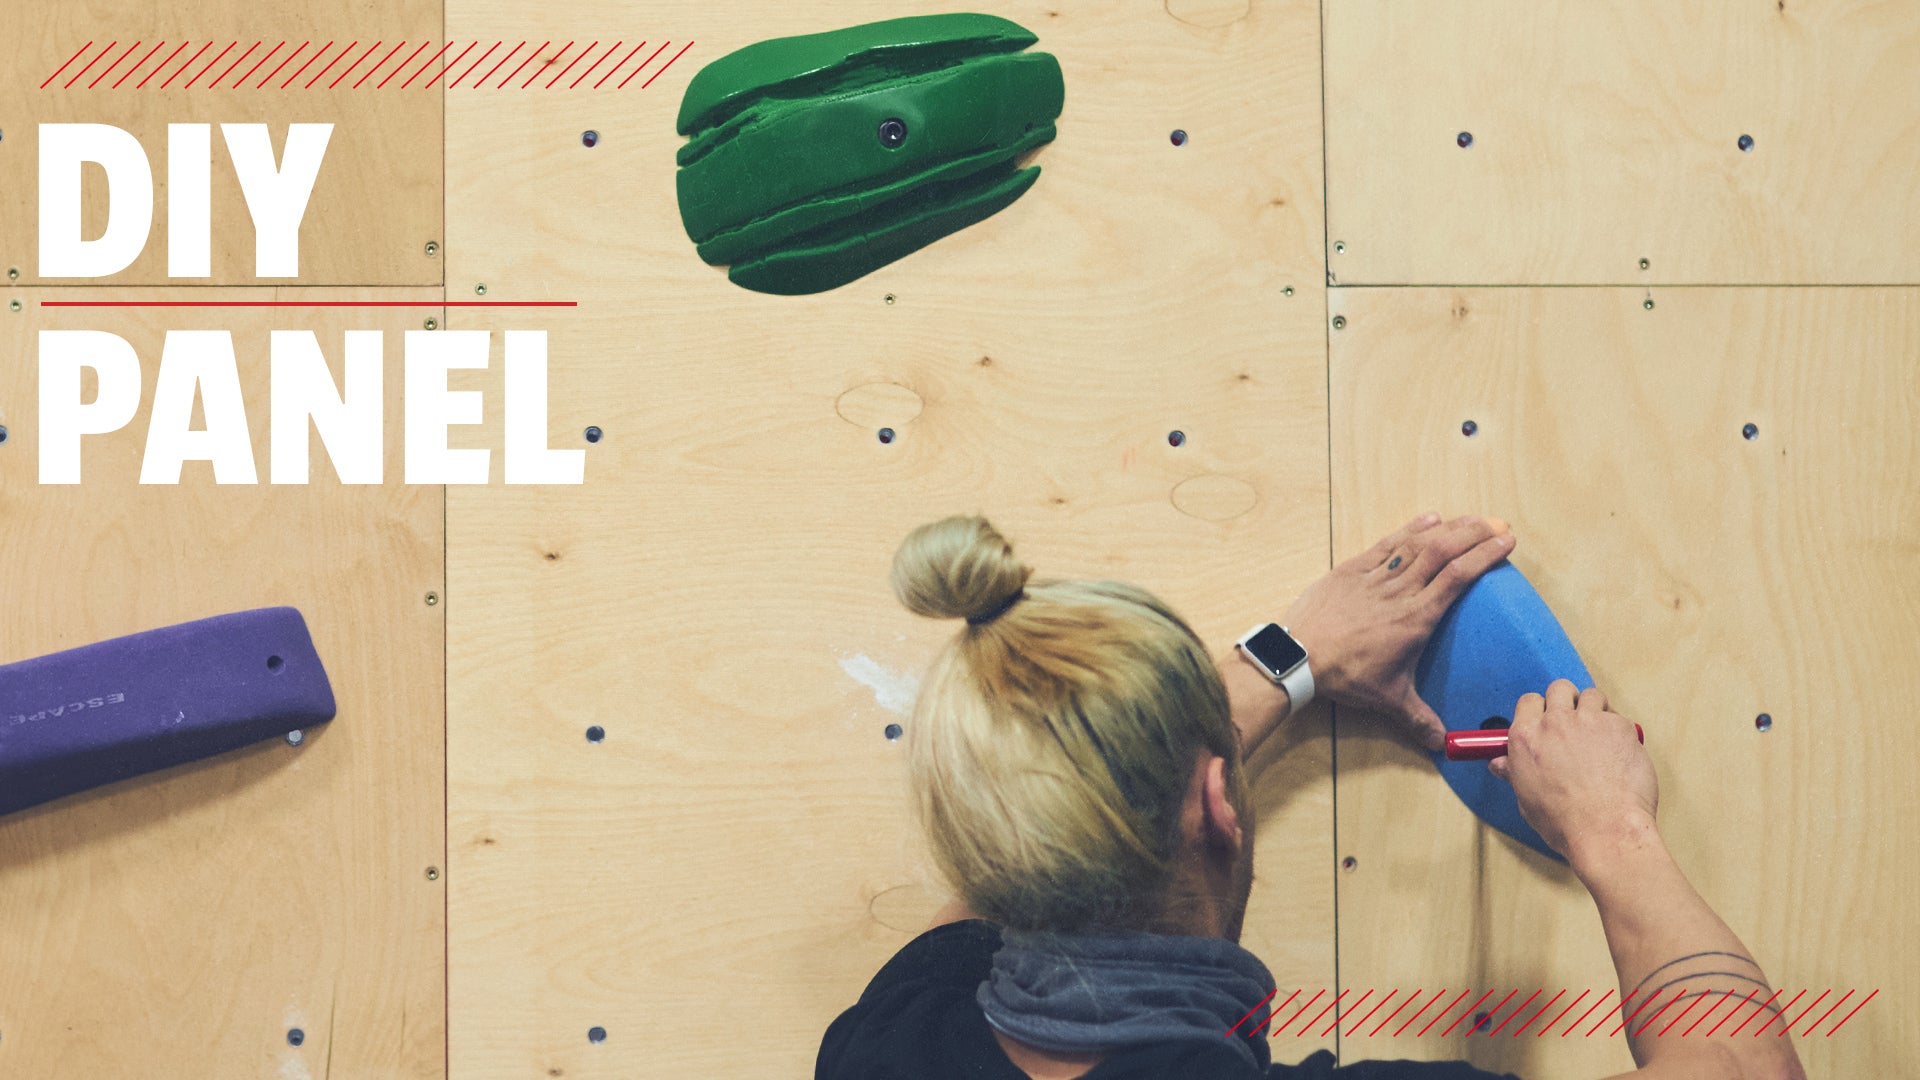
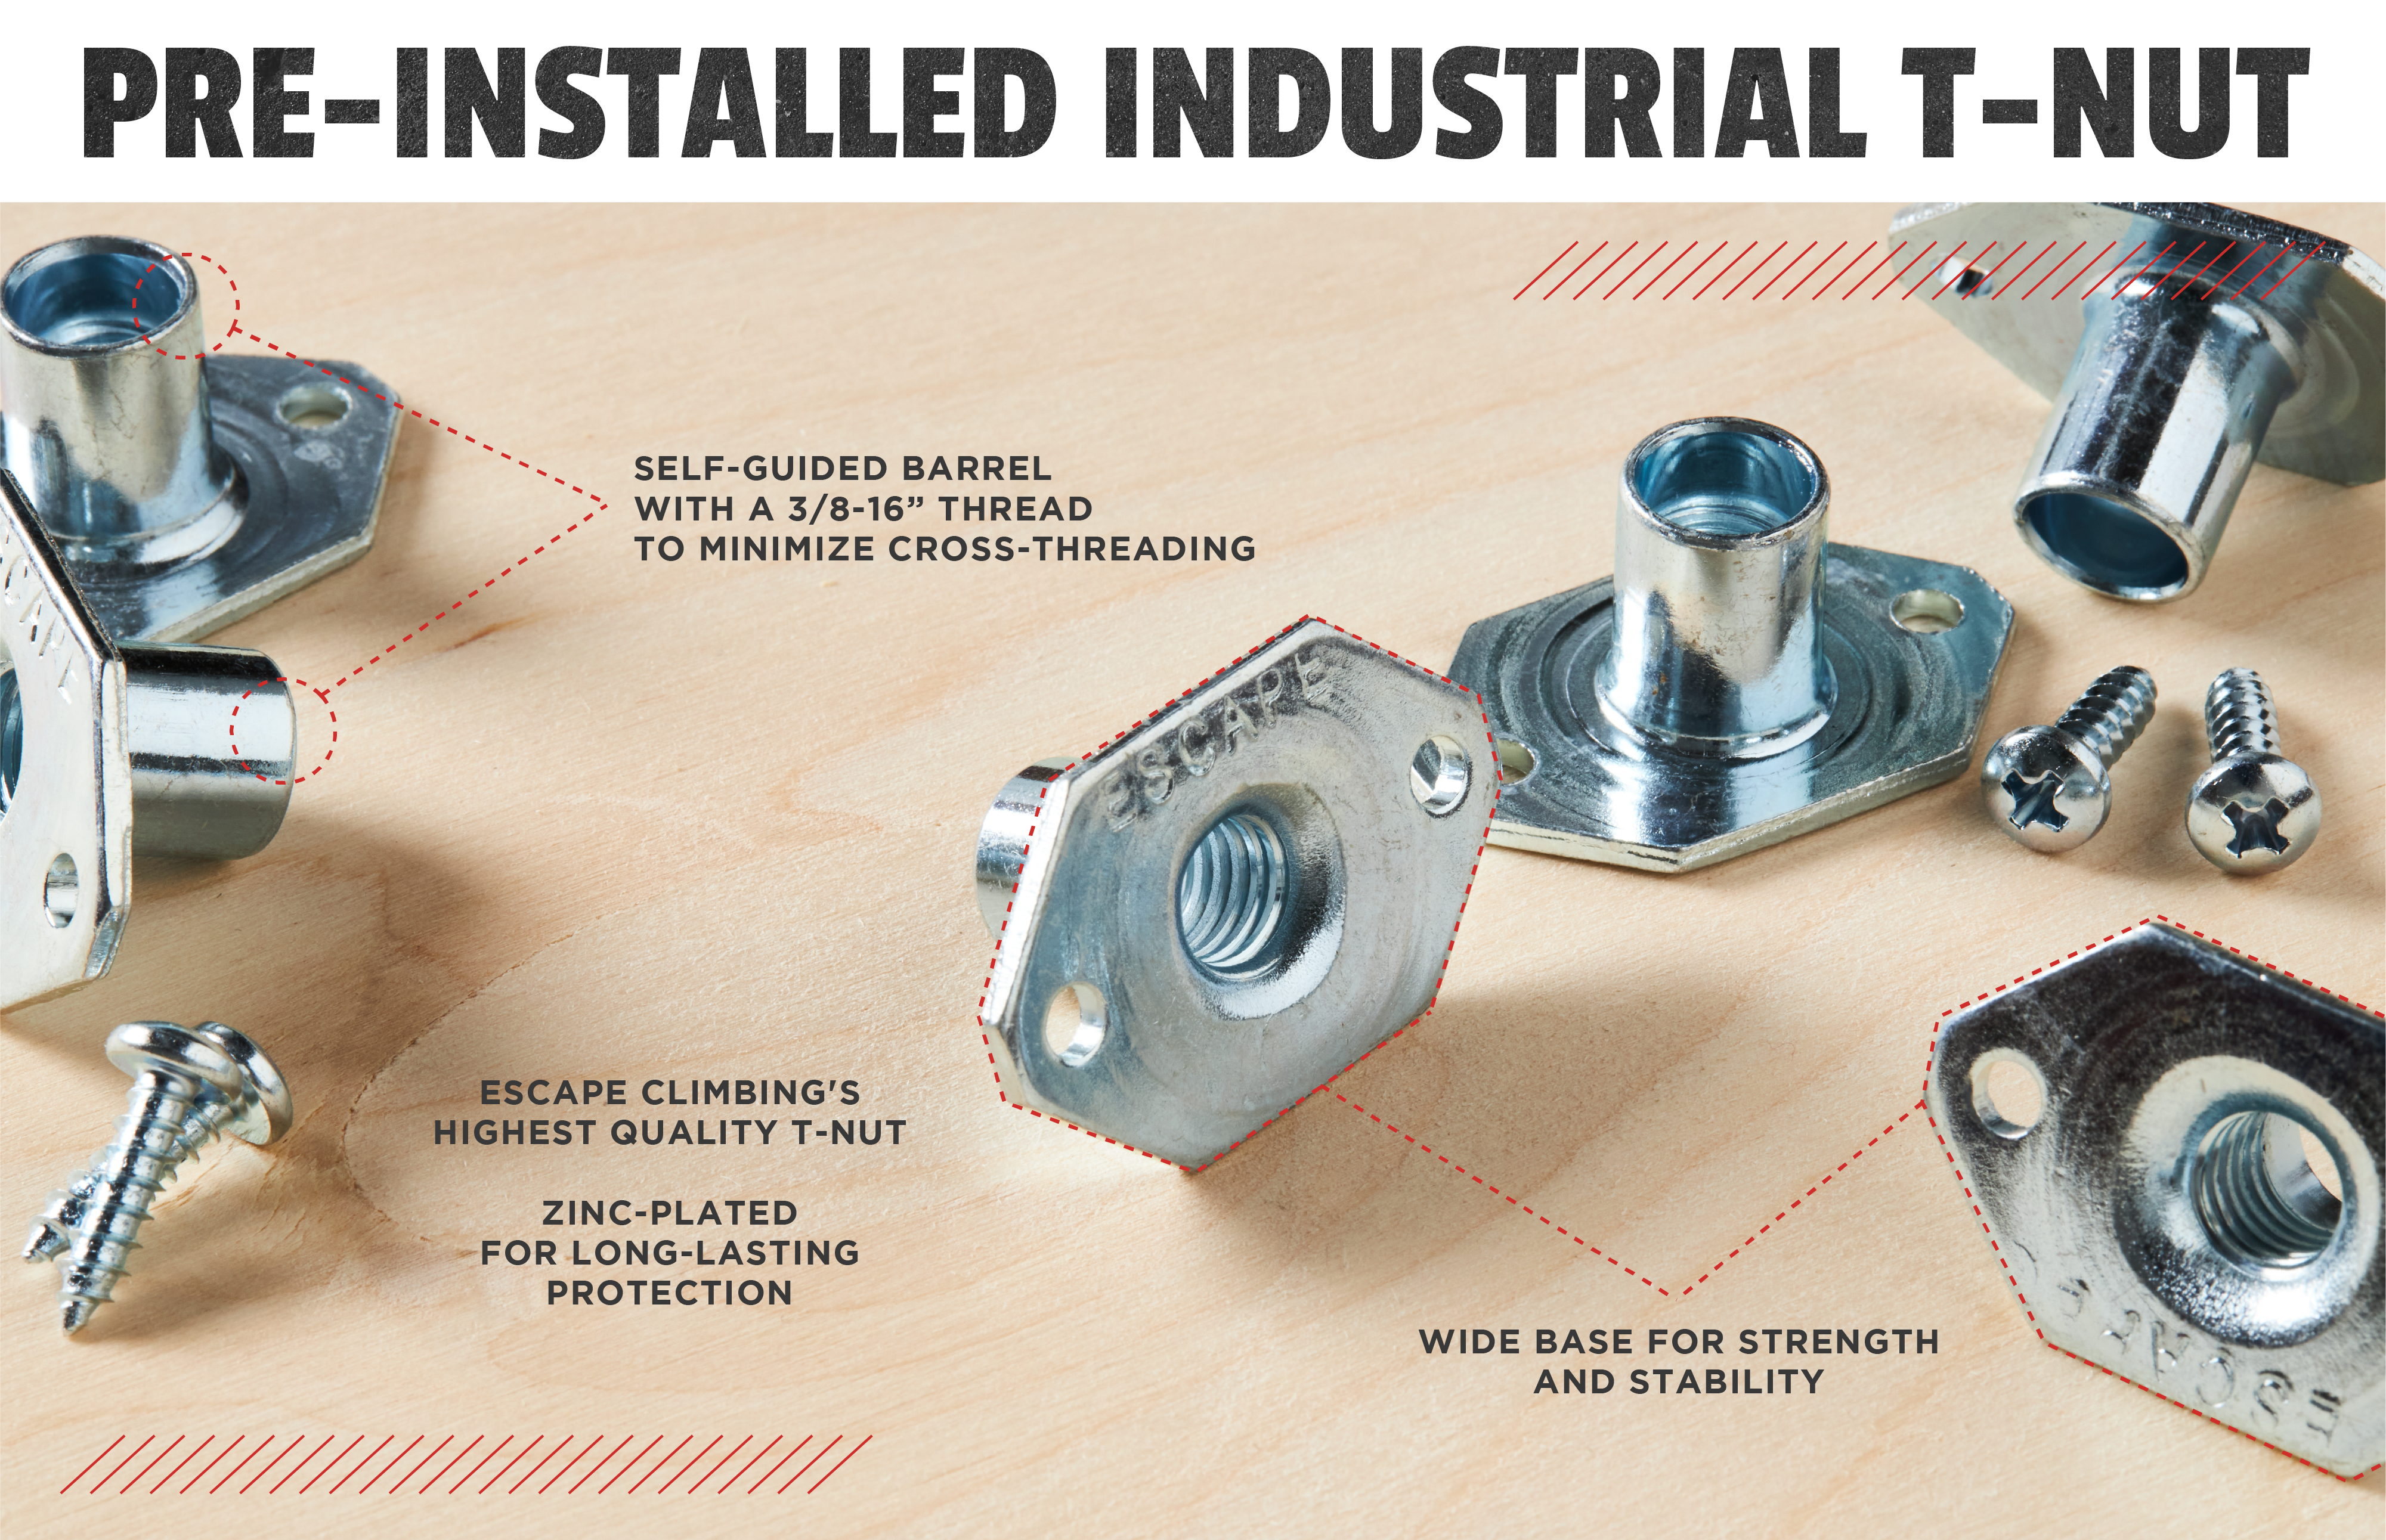
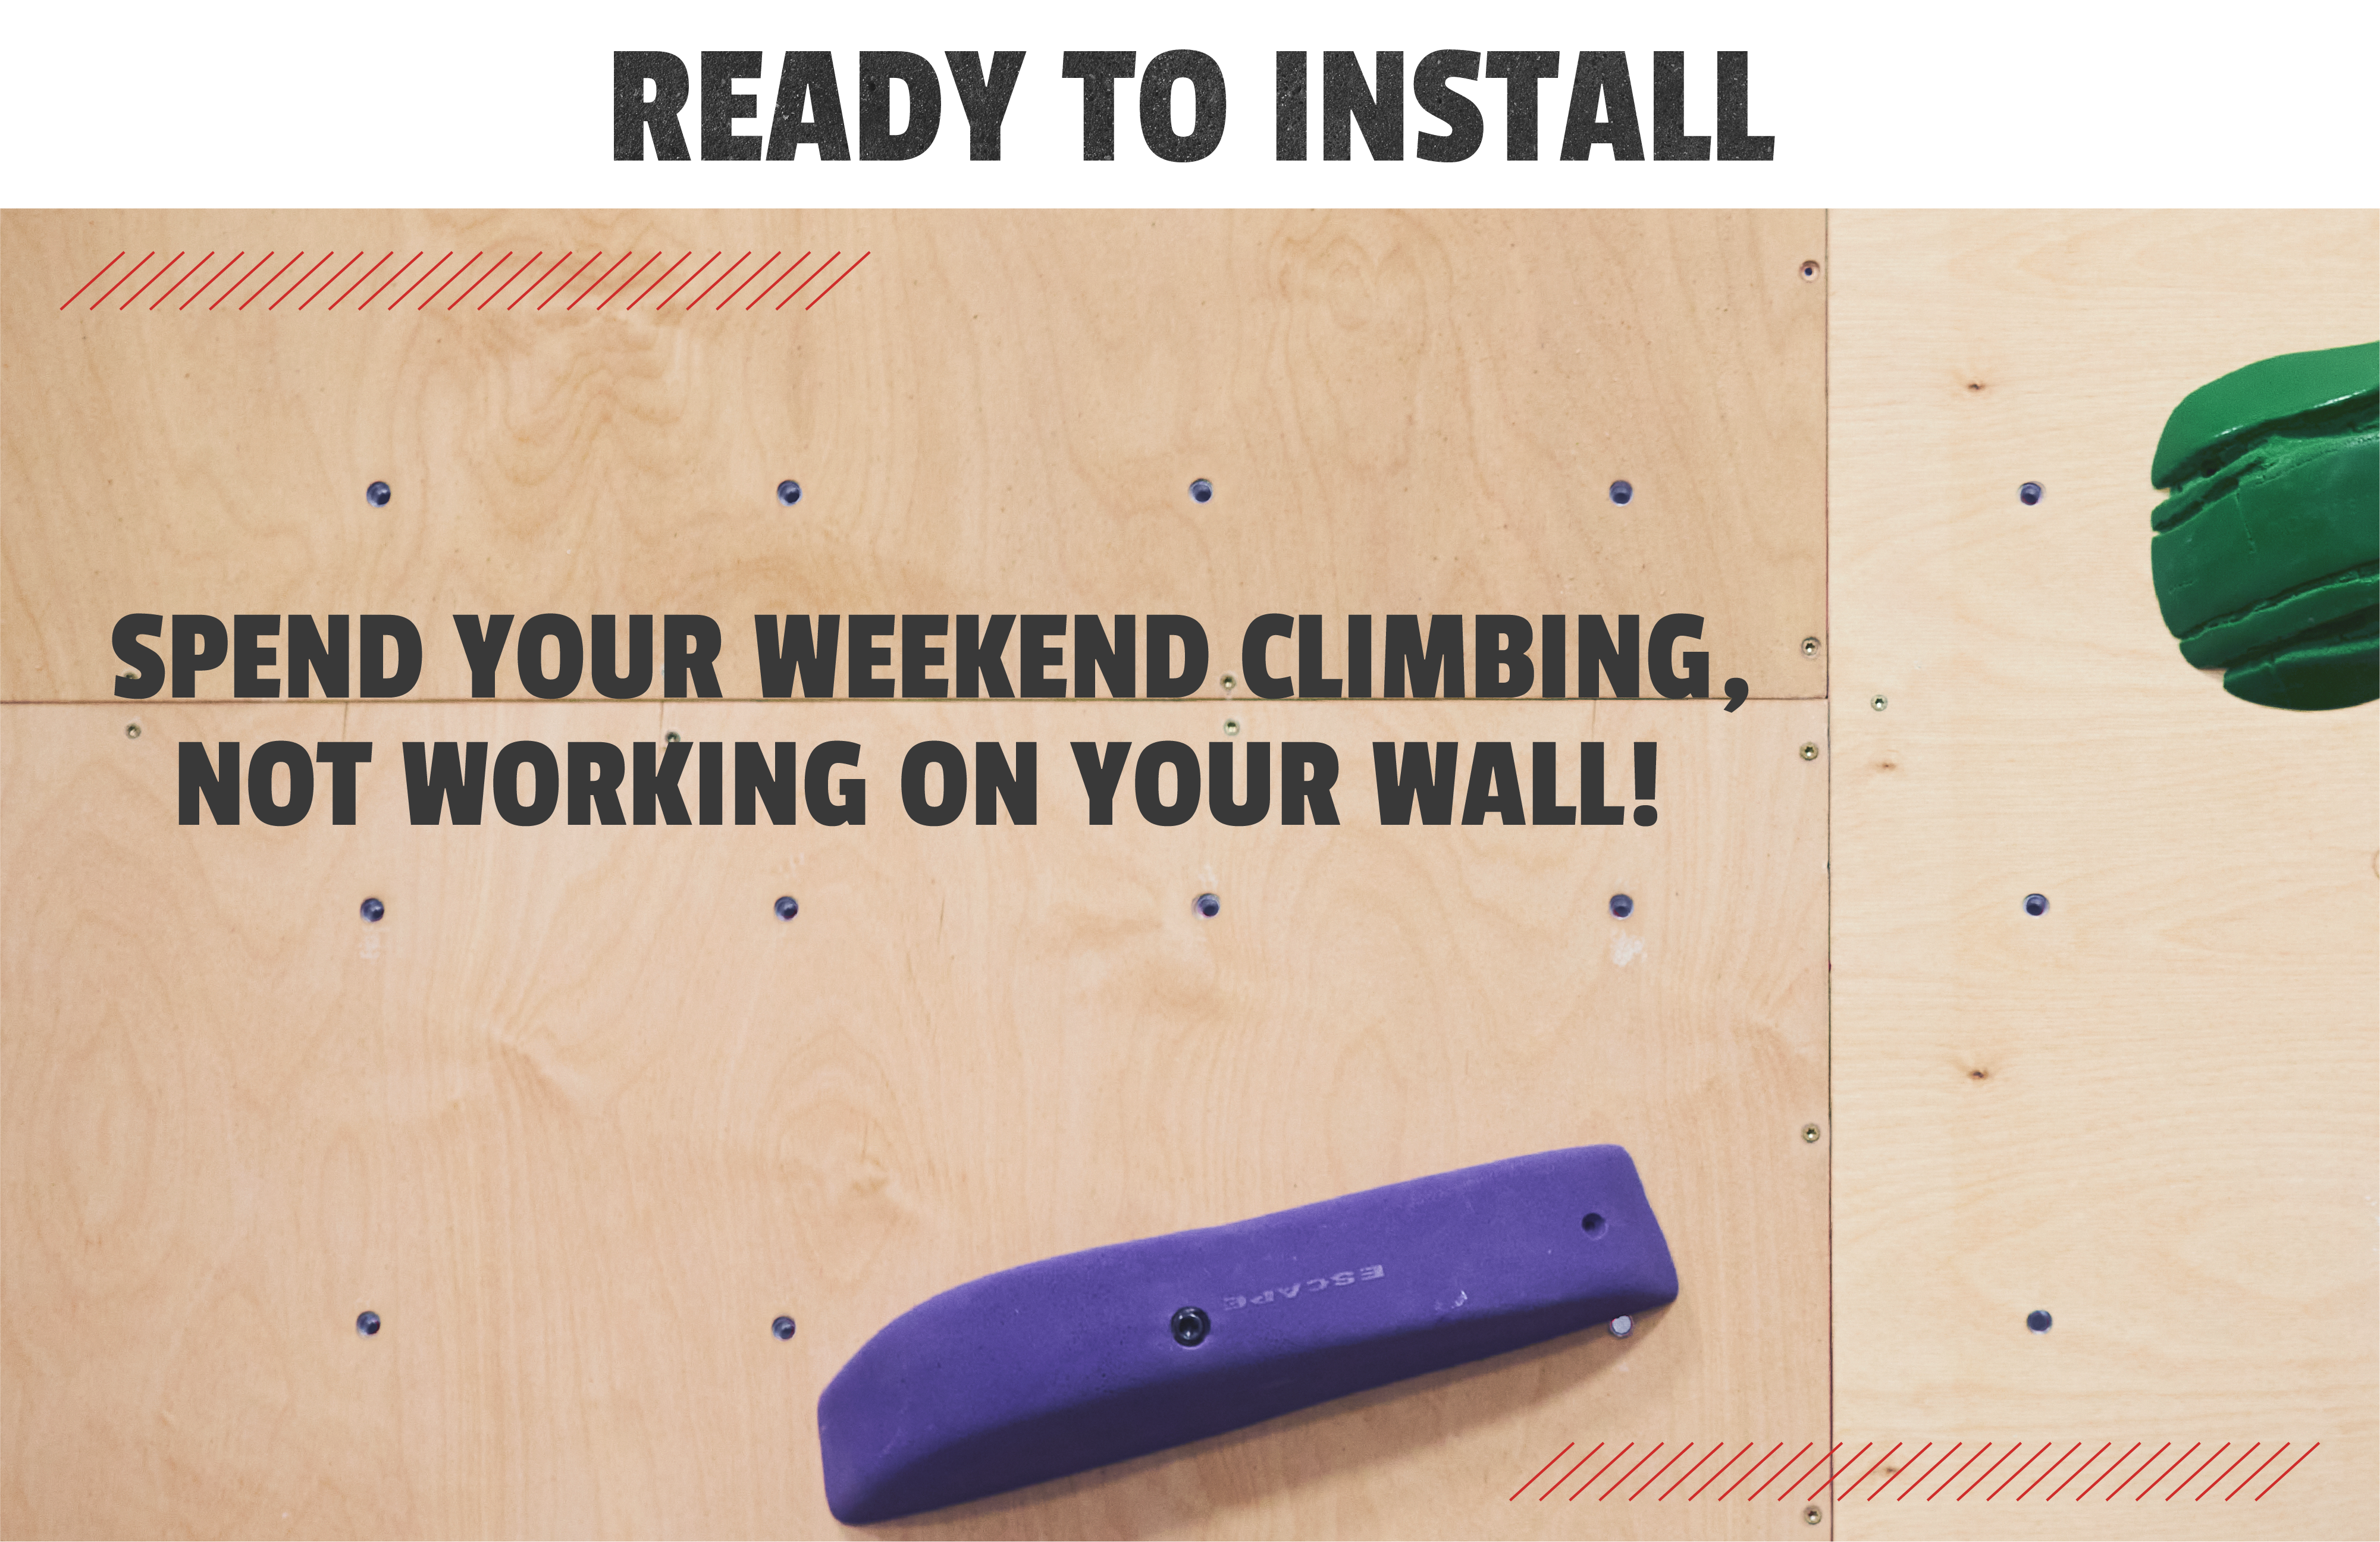
The DIY panels are designed and engineered to make building your climbing wall as easy and painless as possible. Just unbox and start installing onto your 16" or 24" on center studs. The panels are textured, drilled, and t-nutted saving you hours of work. Our goal is to provide a commercial gym caliber panel to the DIY market. This is why we use 13 ply baltic birch, our self-guided industrial t-nut, and our industrial long-lasting texture. Walls are designed for indoor use or covered outdoor structures.

The 8" square t-nut grid is designed never to hit studs (16" or 24" standard stud spacing) and to flow seamlessly from one panel to the next. With 18 t-nuts per panel, you will have plenty of modularity and options for route setting. 

Installation
DIY panels should be installed directly to a stud frame that can support the load. Generally, new supports are framed out for the installation of the climbing panels, or the existing studs are exposed (like in a basement, garage, or attic) where you can install directly to the studs. 

Installation over Drywall
Installing over drywall is very possible but involves a bit more care. You will need to locate the studs behind the drywall and ensure panels are installed into the studs. You must also ensure the structure behind the drywall can support the load. You do not want to install panels directly onto the drywall. We can provide 3/4" spacers that sandwich between the DIY panels and the existing wall if you choose the with spacers listing. This allows your panels and t-nuts some breathing room. This is important for installing the climbing holds as the bolts for installing the holds will extend behind the wall. Having this small gap allows room for the bolts to extend through the whole t-nut without damaging your drywall (keep in mind drywall is not structural and you will always need to find studs to secure the panel).

  • Frequently Asked Questions:
  • Q: Do I have to use your allotted spaces for screws?
    A: No, you can pre-drill and attach the panels however you need. We actually don't pre-drill the holes needed for the middle of the panel. Common stud spacing is both 16" on center and 24" on center in normal in residential construction. Since we don't know your stud spacing we leave this section of the panel without drill holes for you to pre-drill and attach.  For full strength we recommend securing your panels to these middle studs as well. Each panel should install with 12 GRK screws (included). 
  • Q: Can I trim the board to make it smaller or fit into a different space. 
    A: Technically yes, but we do not recommend it unless you are a professional. The aggregate used to give the panels the nice textures will immediately dull a typical saw blade. The aggregate will create a silica dust from cutting and is harmful to inhale. A speciality saw-blade and the use of PPE would be required if cutting the panels. 
  • Custom Panels 
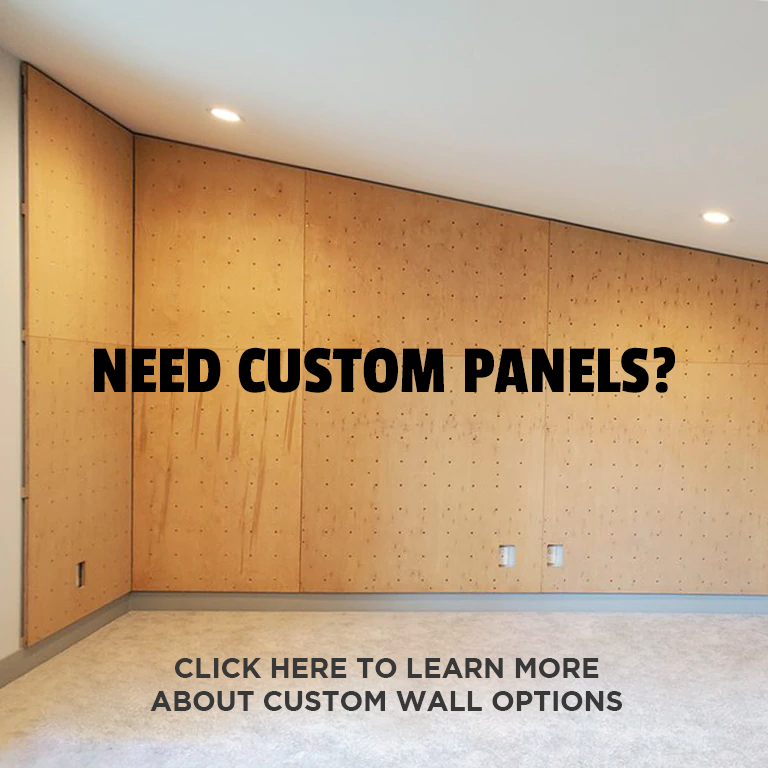
    If you can provide room measurements we can provide custom panels! Working with wall angles, baseboard, and outlets are no problem. We will draw up your wall and CNC cut it to the needs of your space. For custom panels please email orders@escapeclimbing.com do discuss your project and to get a quote.

Customer Reviews

Be the first to write a review
0%
(0)
0%
(0)
0%
(0)
0%
(0)
0%
(0)